Category Archives: Christmas

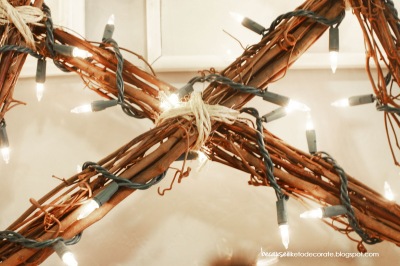
DIY Rustic Christmas Star

Let me just say… I’m so tired! Between the Christmas rush and the fact that our house has been hit with a cold, which brought on the discovery of my precious little 4 year old’s battle with Asthma (or Restrictive Airway Disease)… poor baby, I’m exhausted! Needless to say, I haven’t been doing anything crafty and have nothing new to show you. I’m re-posting my DIY Rustic Christmas Star tutorial just in-case you missed my guest post over at TypeA last week. I do however have a few surprises up my sleeve and will be sure to share all the details and pics with you in a couple days.

…………………………………………………..

This project is one that I did last year after seeing one at my local Pottery Barn. I’m not sure if they sold the stars or if it was just a part of the store decor for Christmas, but as soon as I saw it I said to myself, “I can do that!”

It’s quite simple, really — just how it looks. Off I went to Michael’s and purchased a couple bundles of their pre-packaged sticks. Note: make it a point to get the straightest ones possible. Curvy sticks are hard to tie together and it will be harder to achieve the straight lines you need for your star.

Make five even piles of the straightest sticks possible. Just use your judgement to determine how many sticks per pile. Those piles will become the five lines to your star. Lay them out as you see they look and fit best together. I used a standard twine that I had on hand, but any sort of twine-like string will work just fine.

Wrap the twine around each point of the star as tightly as possible. Then, tie a double-knot around the back of the star and secure with a dab of hot glue. Repeat this process until your star is complete.

I found it was easiest to tie down the star points first before securing the middle sections. Once your glue is dry, you may add any other decorative finish that you desire. I chose simple white lights and I have to say — this is one of my favorite decorative pieces to pull out each year.

The best part is that this is an indoor/outdoor project. What about a front door wreath alternative? Hung above your outdoor nativity set? Or maybe three different sized stars hung above a window?

Lots of love,
Mary

Linked up here:

I LOVE wreaths.

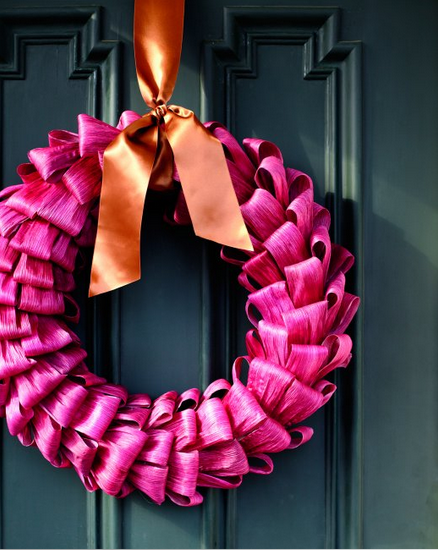
Just in case you didn’t know, I LOVE wreaths! As I was perusing Pinterest this evening for ideas, I found myself pinning like a million wreaths. My plan was to just search for 2-3 ideas to make something simple, and then I just couldn’t stop. :) Check this one out!

Screen shot 2013-07-31 at 1.44.10 PM


You may be thinking, what does this have to do with Christmas? But I can see it! Just add a red bow and some purple berries… and there you have it. A non-traditional Christmas wreath. This next one is really really amazing!

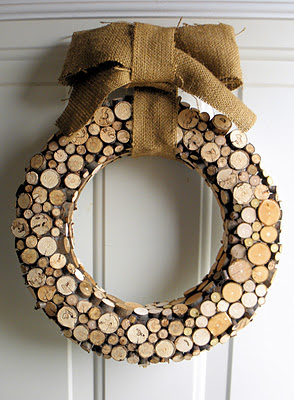
wreath3

All I need now is a power saw. :) Don’t get me wrong, I am a sucker for the traditional as well! Just give me garland, white lights, and red bows and I am done.

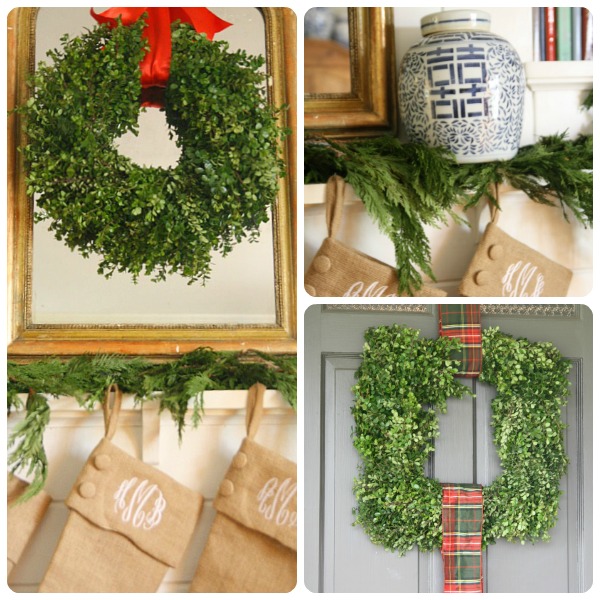
christmascollage


I am really into the traditional ole boxwood wreaths and want to make one or buy one pronto… correction, not one but like ten! So classic. Okay, so here’s one for Arizona!

51bbeb3fdbd0cb1f920005ae._w.540_s.fit_


I can picture a simple red bow on the bottom right “corner”. I think this may be my front door choice (that is if I have time to try and make it or if I see one for sale in my area). Just one more, I promise!

burlap red christmas wreath valentines how to

I really do want to try and make this one. At first glance I thought it was red felt, but look a little closer. It’s red burlap! Check out my Pinterest Christmas board here to see the rest of the wreaths that caught my eye today. There are so many amazing ideas that I could be making wreaths all year and stay busy.

Lots of love,
Mary

I’m a guest!

I am so very honored to have been asked by Tammy @ Type A to do a guest post for her today as a part of her Christmas series. The tutorial that I have shared with her audience is a step-by-step DIY tutorial to create this rustic star that you saw recently on my Christmas “mantle” post.

You can view the full tutorial over at Type A today by clicking here or on the below “25 days of Christmas Guest Bloggers” link. Merry Christmas!

Lots of love,
Mary

The Christmas "mantle" is done!

Introducing… our Christmas “mantle”!

I have to say that I went through a couple revisions before settling on this design. That’s just how I roll! :) The plan was to keep it simple this year. The white framed art in the background was just moved from another wall.  I think it gives the mantle a nice neutral backdrop.

Nutcracker statues were added to give a little pop of color and play off of the red stockings as well and provide a little interest.

As usual, everything here was either a sale/clearance item, thrift store find, or generally inexpensive. I don’t like to pay a lot.
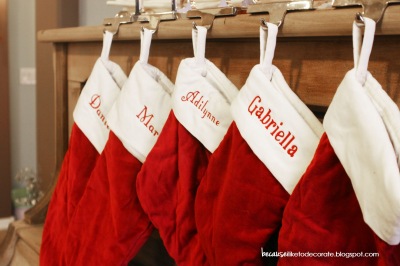
I purchased these Pottery Barn stockings a couple years back and ordered some extra blank ones for our future children. This time next year, that blank stocking will say “Daniel.” Pottery Barn also sells a matching tree skirt, but that sucker never goes on sale — I check every year after Christmas. I may have to buck up and just buy the thing one of these years… I just HATE paying full price! :)

A little bling here and there.

And the star as the focal point to complete the look!
Lots of love,
Mary
I’m linked up here:

Funky Junk's Sat Nite Special

Photoshop, etc…

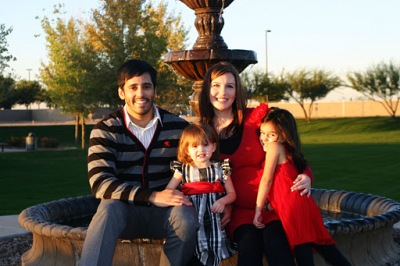
What started out to be an ordinary day quickly turned into a wild goose chase to find the perfect Christmas dresses in my girls’ sizes. I have this perpetual problem of picking the one thing that is impossible to find and today that thing was a specific dress for Adi in her size. Four Target stores later and most of my day eaten up, I settled on second best and rushed home to make our photo shoot appointment. What I mean by “appointment” is calling on our talented young cousin Zac to use our camera for a half-an-hour while we attempt to get all four of us to look at the camera and smile at the same time. (Thanks Zac!)

Well, he did a great job and combined with some fantastic photoshop tutorials I found online, I was able to pull together our card design and get the order into the print shop.

Here is our final card design for 2011,

I searched the web for inspiration and created this file in Adobe Illustrator. You can find a more detailed tutorial here complete with sources on how to create your own cards.

This is the original photo that we chose straight out of the camera,

Its a great photo, just needed a little tweaking. I found a really informative list of photoshop tutorials from experienced photographers here.

The first effect I tried was the “Soft Focus & Glow Effect” — tutorial found here.

Next, I tried the “Lomo Photography Effect” — tutorial found here.

And lastly, I tried the “Vintage Photo Effect” — tutorial found here.

This was my favorite even though we didn’t choose it for the card.

I hope this was helpful! Tomorrow, the plan is to clean my house from the whirlwind of a day today and hopefully get to finishing my paint project. Goodnight :)

Lots of love,
Mary
p.s. My sincere apologies for any typos or grammatical errors. My Editor in Chief aka Handsome Husband has gone to bed for the night, so I am left to my own devises.

DIY Custom Christmas Cards

Are you one of those people who don’t want to hear anything about Christmas until after Thanksgiving is over? Well I can definitely sympathize with you because I used to be the exact same way. That is until last year. It donned on me that every year I rush, rush, rush after Thanksgiving and nearly pull my hair out to get all of my shopping and wrapping done, cards mailed, meals and schedules planned, etc. Don’t get me wrong, I won’t put out a tree or any type of decor just yet, but someone has to plan for all this and that’s usually my job. Did you know that we have less than eight weeks left to get everything done? When you think of it like that, it doesn’t sound like much time at all. So let’s start now, shall we?

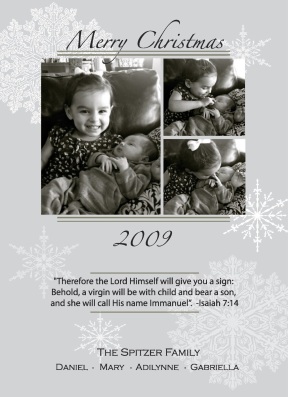
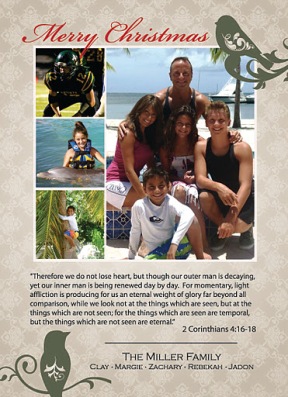
This is our card from last year:

I thought I’d share some tips on how you can create your own custom family Christmas cards — but for a fraction of the cost you would normally pay card companies. Let’s face it, stamps are already expensive enough!

You will need some sort of software that allows you to layer photos and text over a background image. I use Adobe Illustrator, but a number of programs can be used as long as you’re able to save the image as a PDF file for printing. But don’t let this scare you. Everything that I’ve learned in Illustrator is self-taught. You don’t need to take a class. Just play around with it a little and get your feet wet. The programs these days are pretty intuitive. To this day, if I don’t know how to do something in the program, I just Google it. I probably Google a “how-to” just about every day, and there are some great help forums out there with step-by-step instructions. I’d also suggest searching YouTube because there are some great video tutorials out there as well.

The first thing you need to do is find your design/artwork. You’ll need to purchase your own artwork so you don’t infringe on any copyright laws, but this can also be super cheap. I usually use www.istockphoto.com. You can either piece together and layer your own designs or you can search for completed card templates where all you have to do is plug in your own photos. How cool is that?!
Once you have your artwork, choose what size you’d like to print and add a quarter inch for bleed lines (most printing companies require this). For example, if I want my cards to be 5″ x 7″, then I would make my file size in Illustrator 5.25″ x 7.25″.
Next, insert your design/artwork, photos, and text. Be sure to play around with it and format until it’s just right. Then when you’re done, save as a PDF image. Remember, if you get stuck — GOOGLE IT :) Helpful tips: 1) Be sure to keep an original file on hand as well in case you need to go back and edit something. 2) Remember that you have an extra quarter inch that will be cut off, so don’t put any text or images close to that line. 3) Have fun!

Now all you have left to do is get your cards printed. There are many printing companies out there that will do a fabulous job. I have used www.psprint.com for years (with zero problems) because they always have specials on postcard printing. The quality is also excellent! Just upload your PDF to their site and they’ll print and mail you the product within days.

This tutorial can also be used to make birth announcements, party invitations, etc.
Please note that I was not endorsed to promote any of the companies listed above. This is just what has worked well for me :)
Lots of love,
Mary

I have linked up here:


Somewhat Simple Party Buttonwww.remodelaholic.com Somewhat Simple